So,
I like to make fairly elaborate costumes., Sometimes they
work, sometimes they don't, but it's always a blast to TRY.
I've made pages for some of them, and forgotten to for
others. Here's a quick list:
A cowboy riding a dinosaur (no pictures exist that I know
of, and this is A-OK, because it just didn't quite work out)
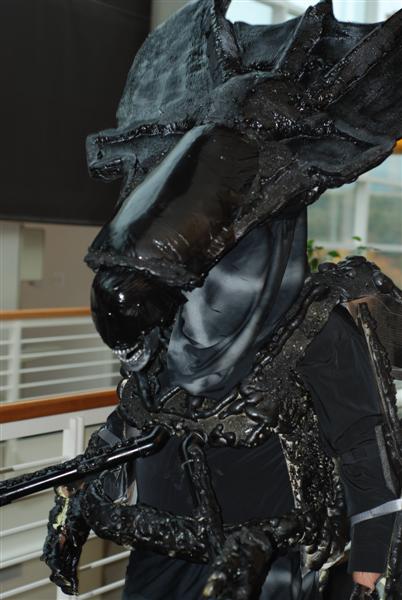
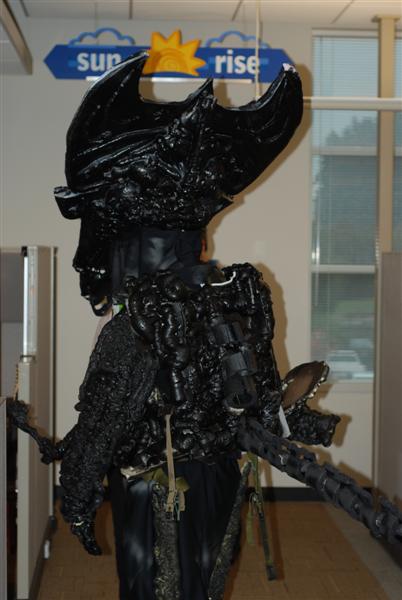
The Queen from Aliens (no page, just a couple pics, here
and here)
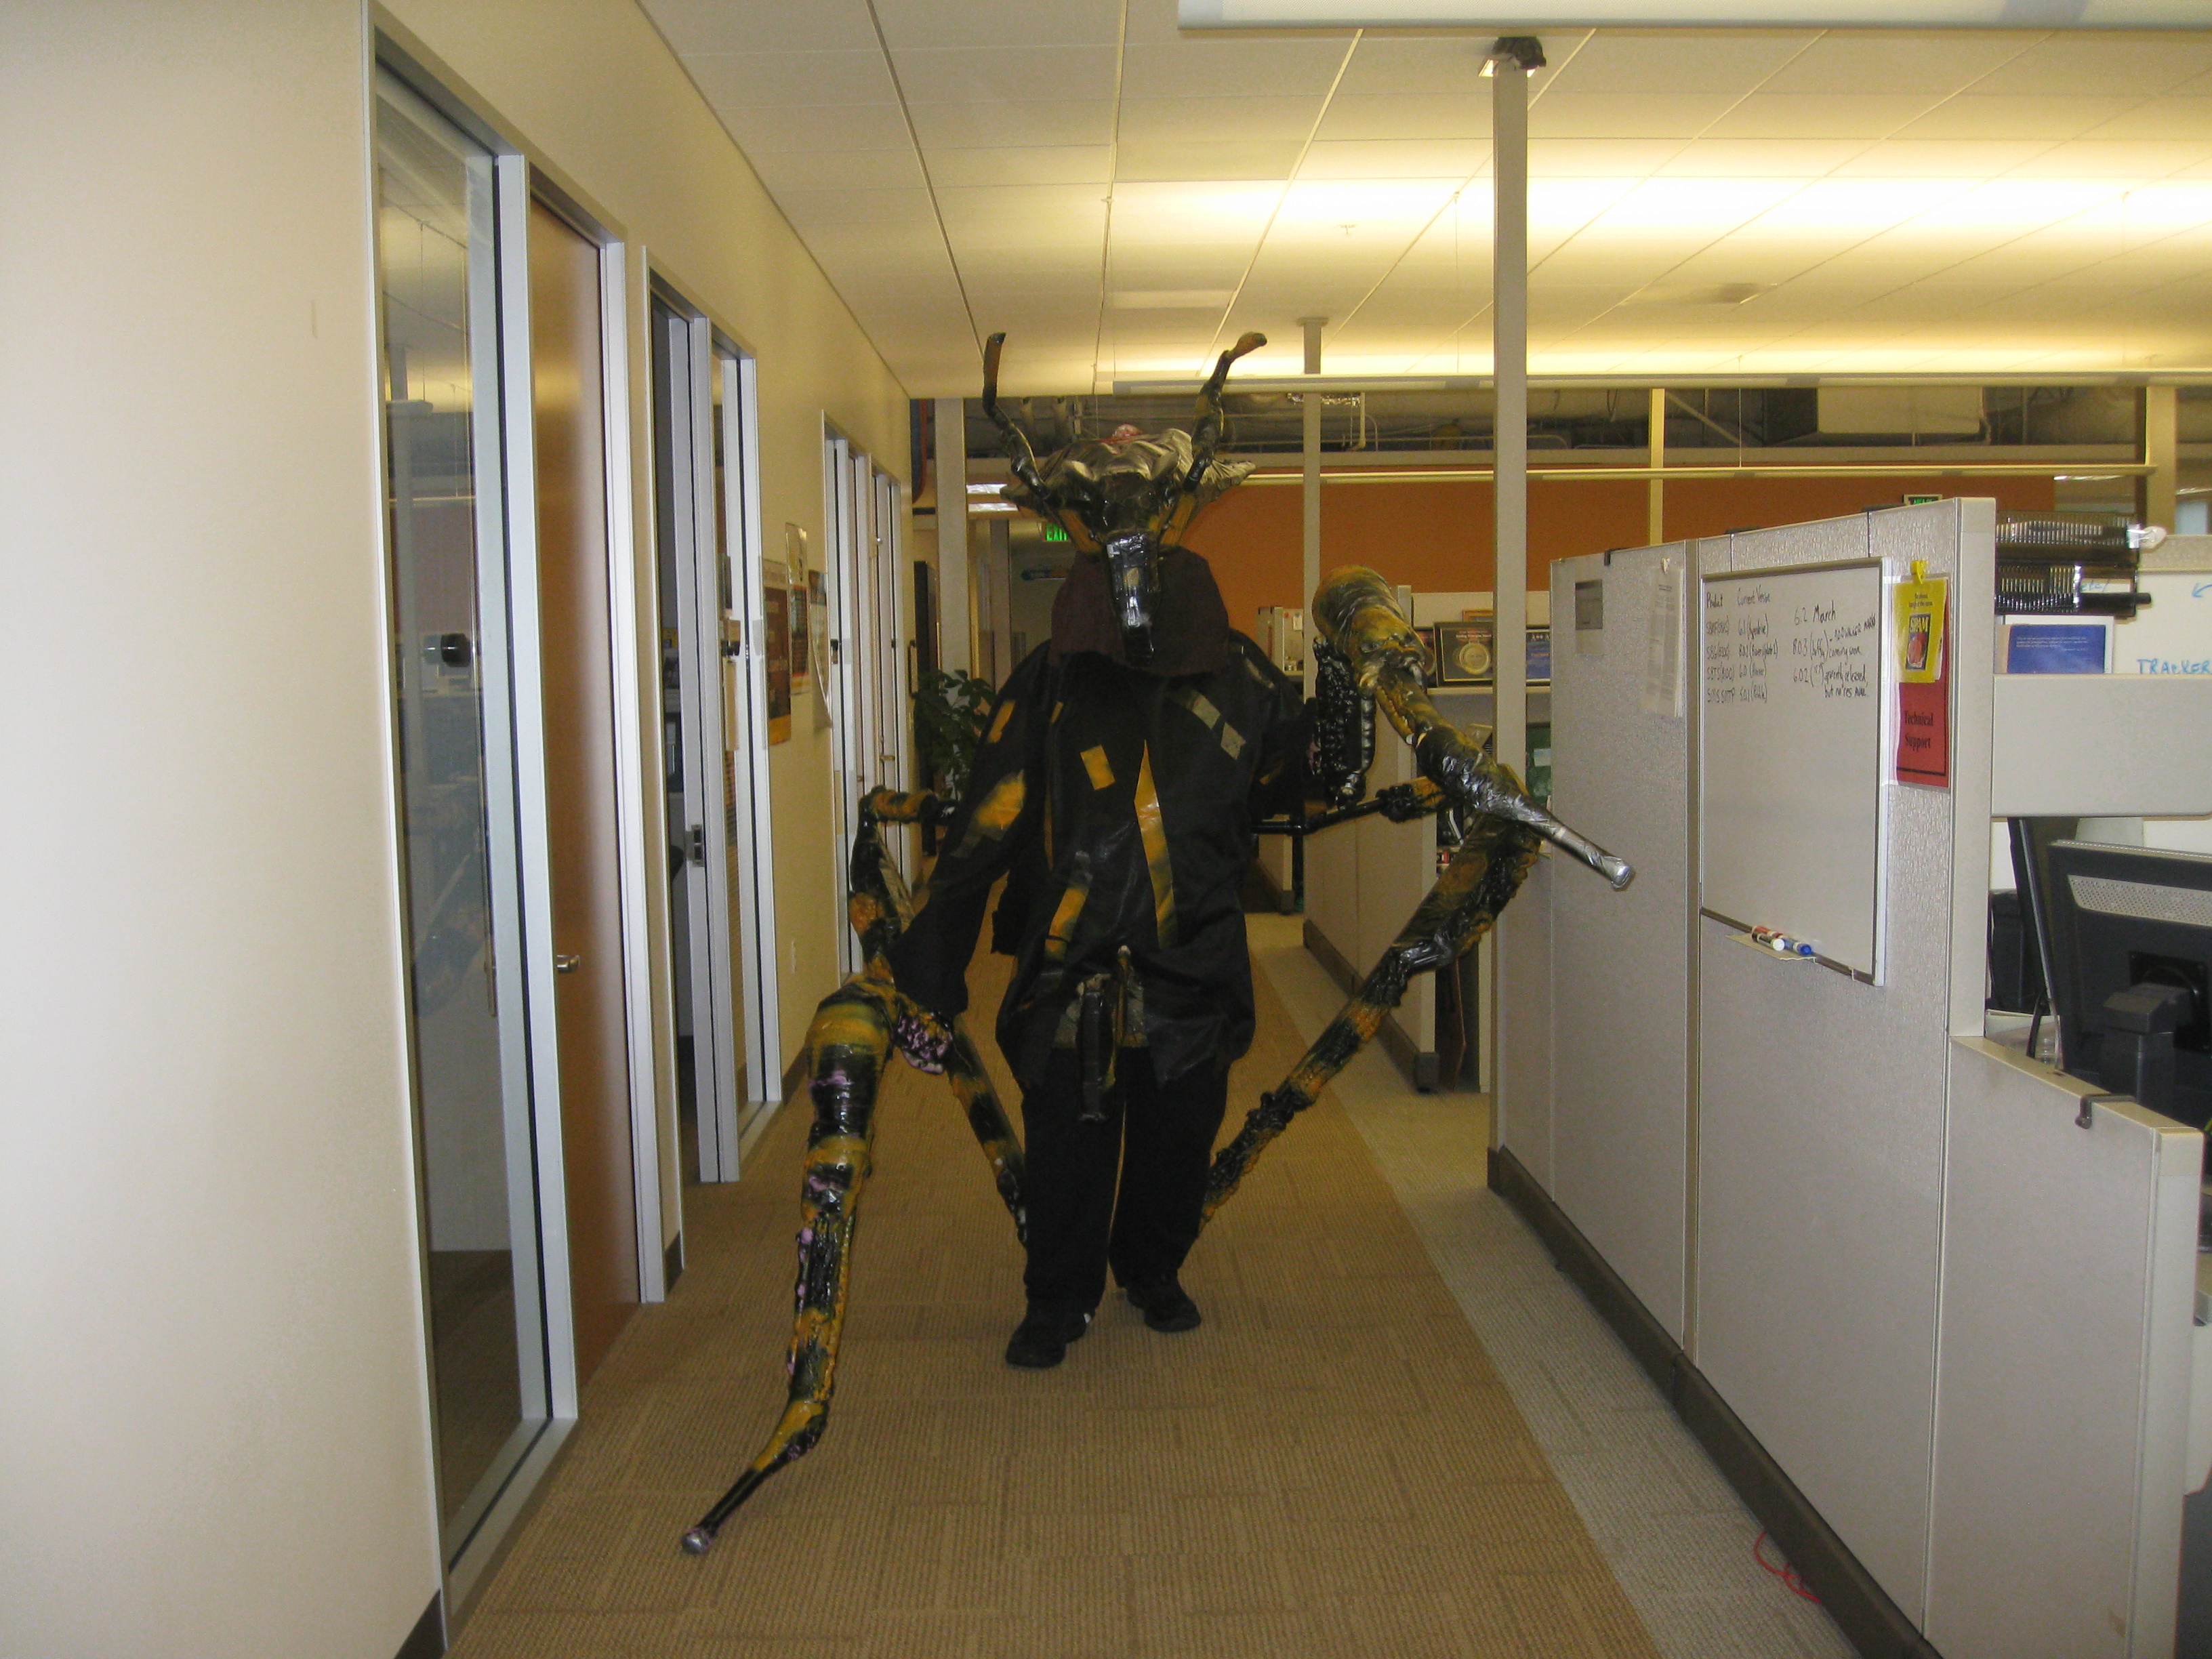
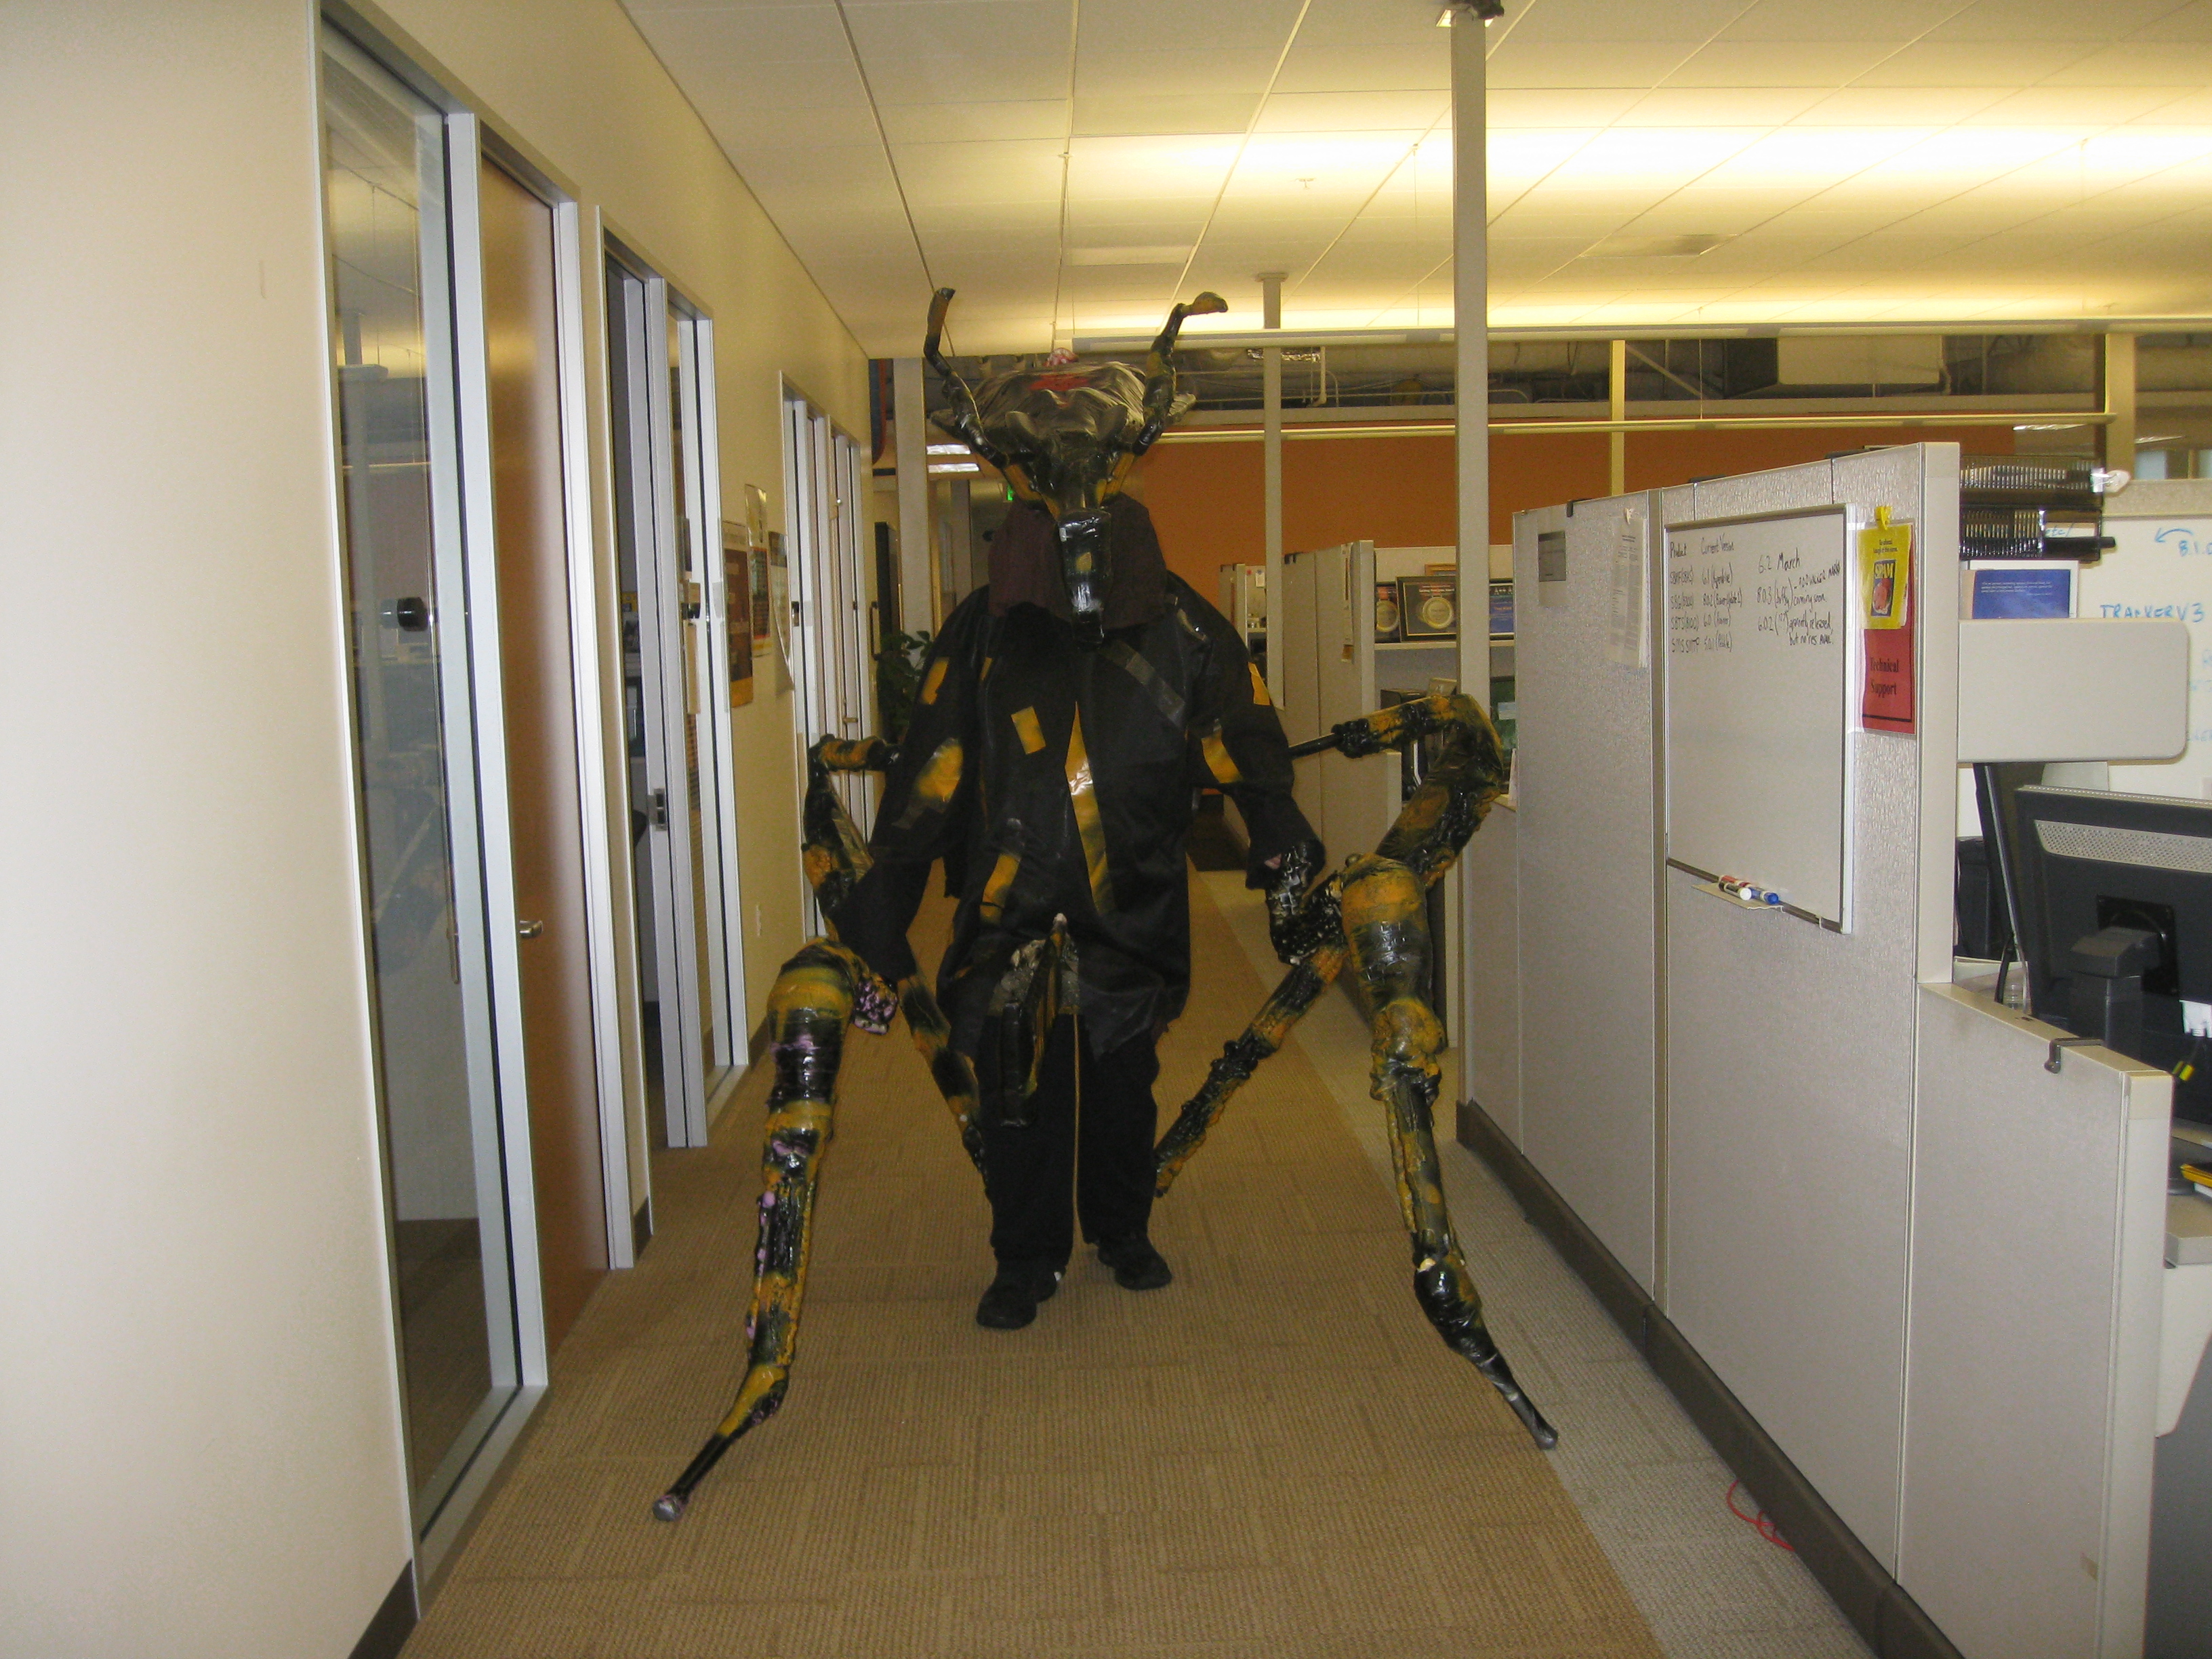
So this year, I finally decided near October to try and do the Arachnid
Warrior 'Bugs' from Starship Troopers. I had never done a
quadraped costume before, so I figured it'd be fun to try.
This
page is just slapped together in about a half hour of... well,
really piss-poor quality work. I'm in a wicked hurry to get ready
for trick-or-treating, so you get the rough stuff.
First,
a video I zipped together yesterday after taking the costume out for a
walk at work. The jaw is too low, I've since fixed that (will try
it out in an hour or so (Halloween night)):
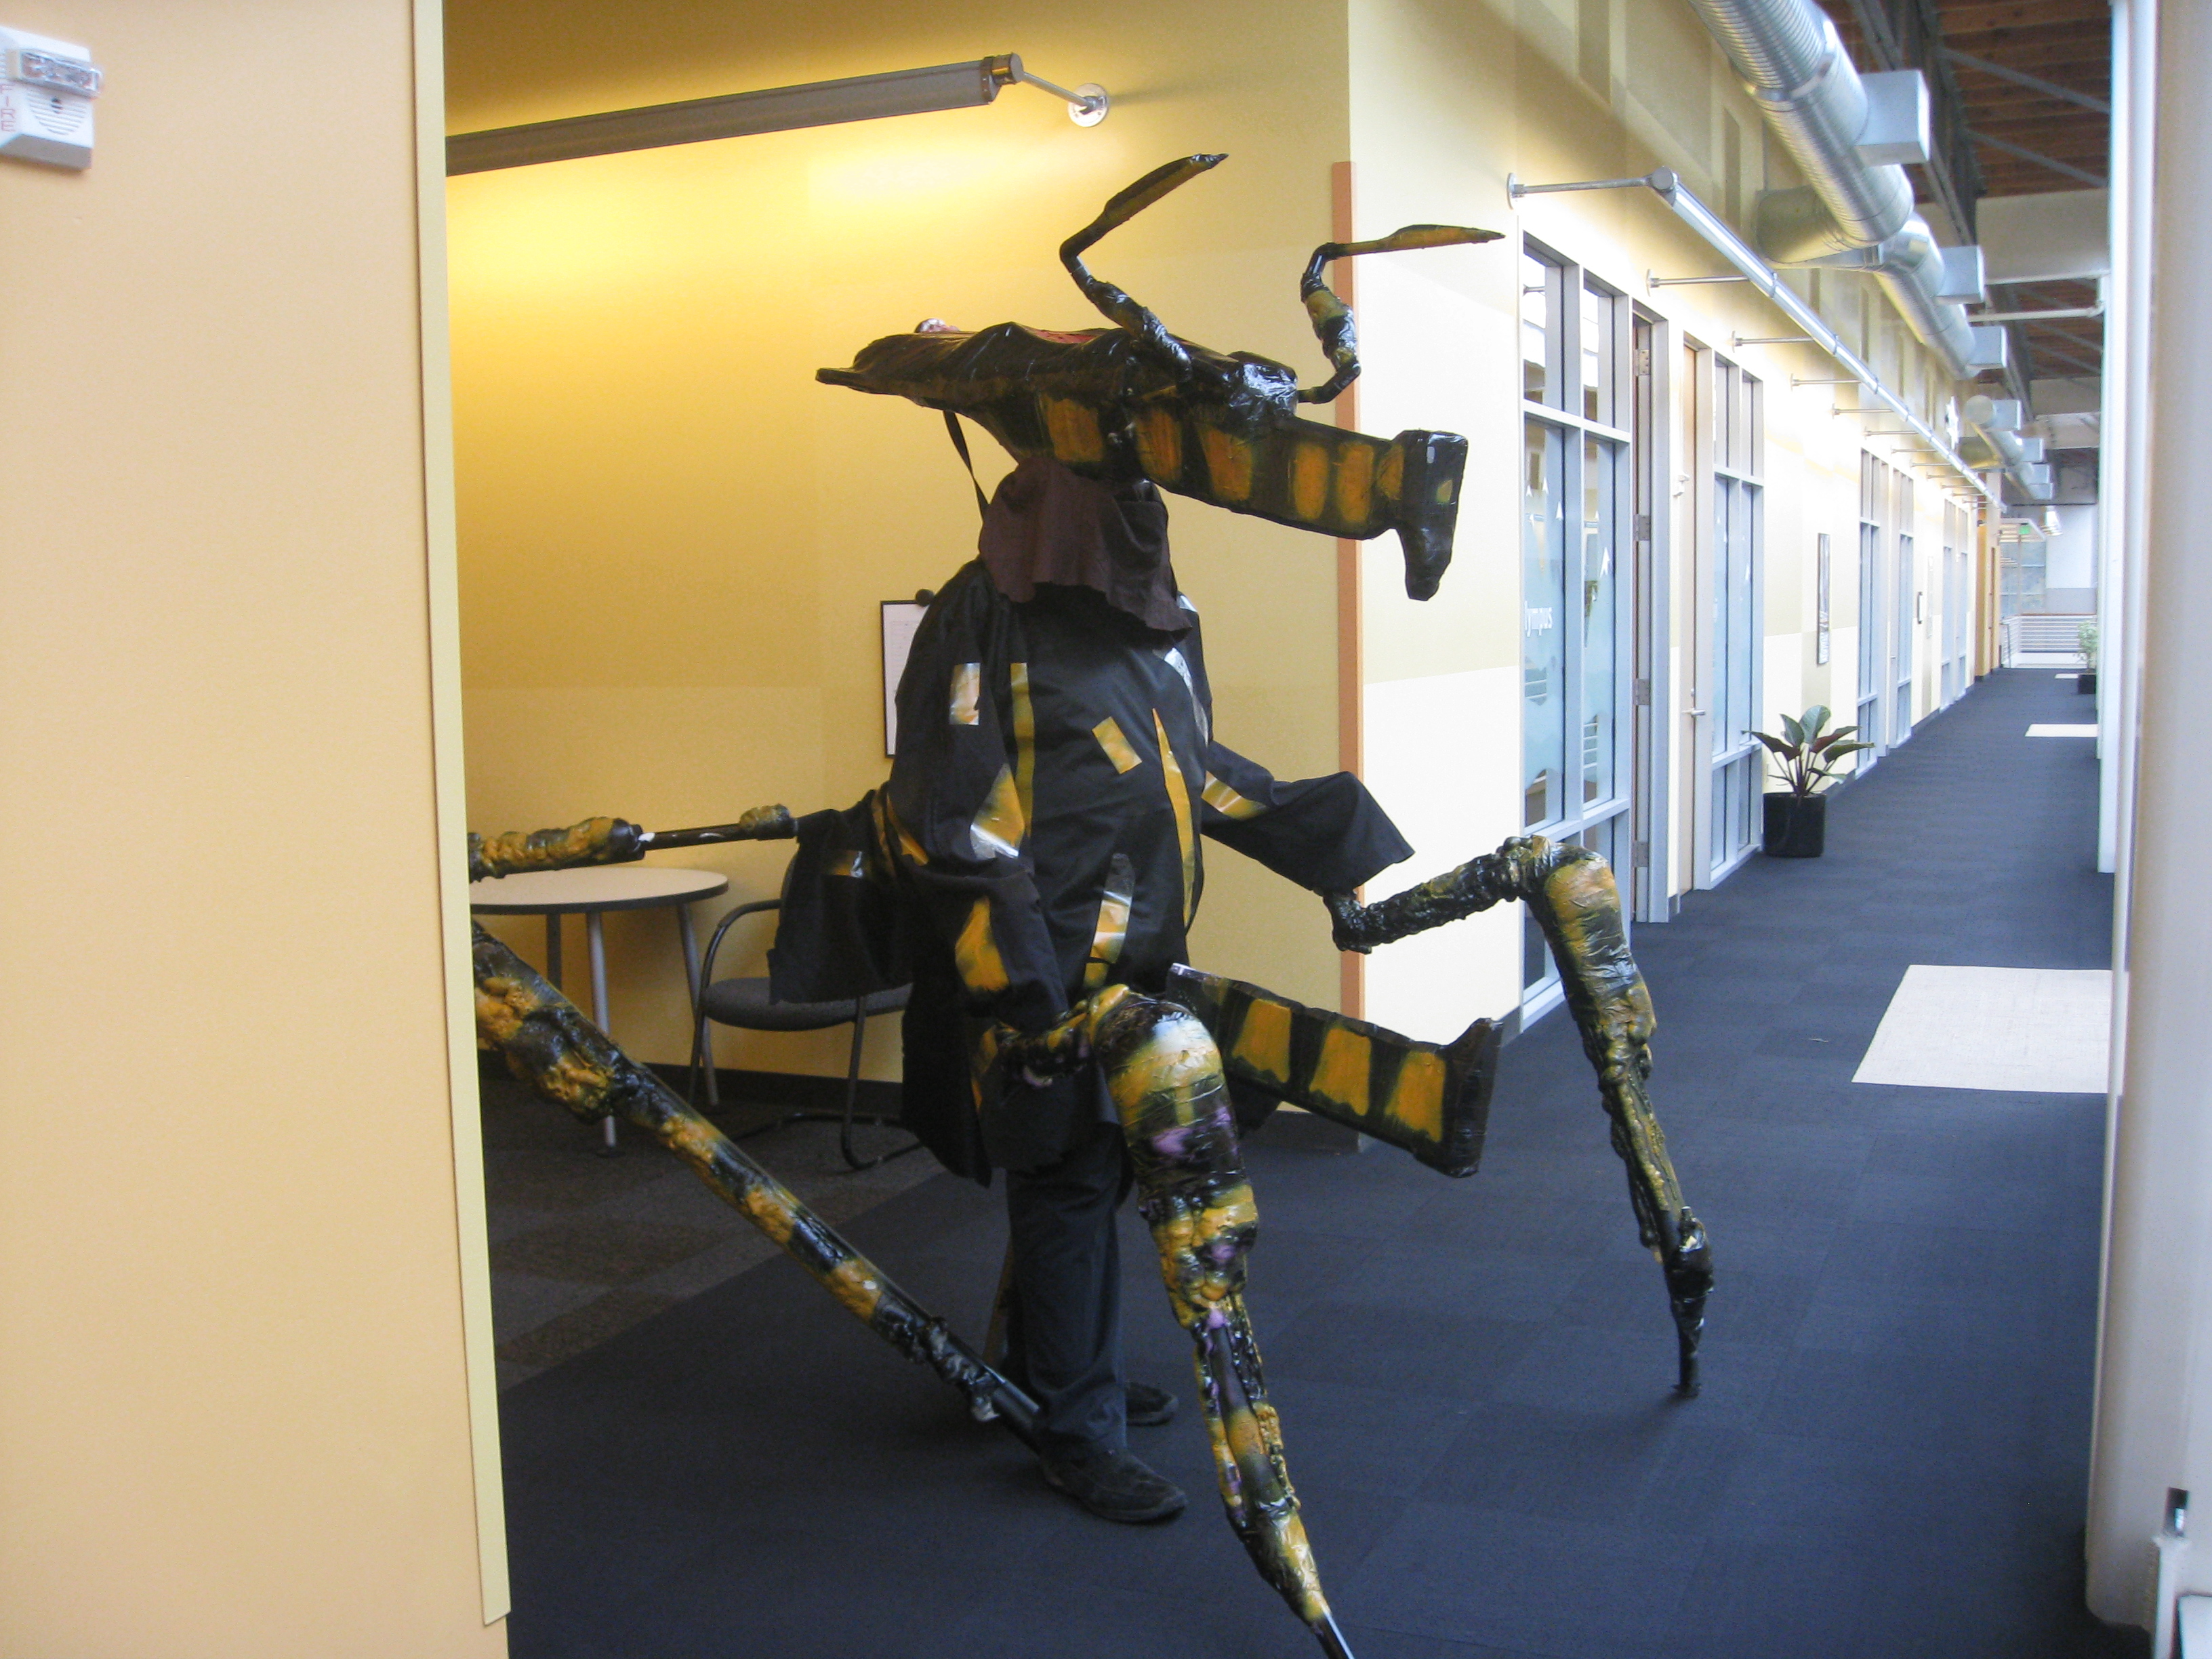
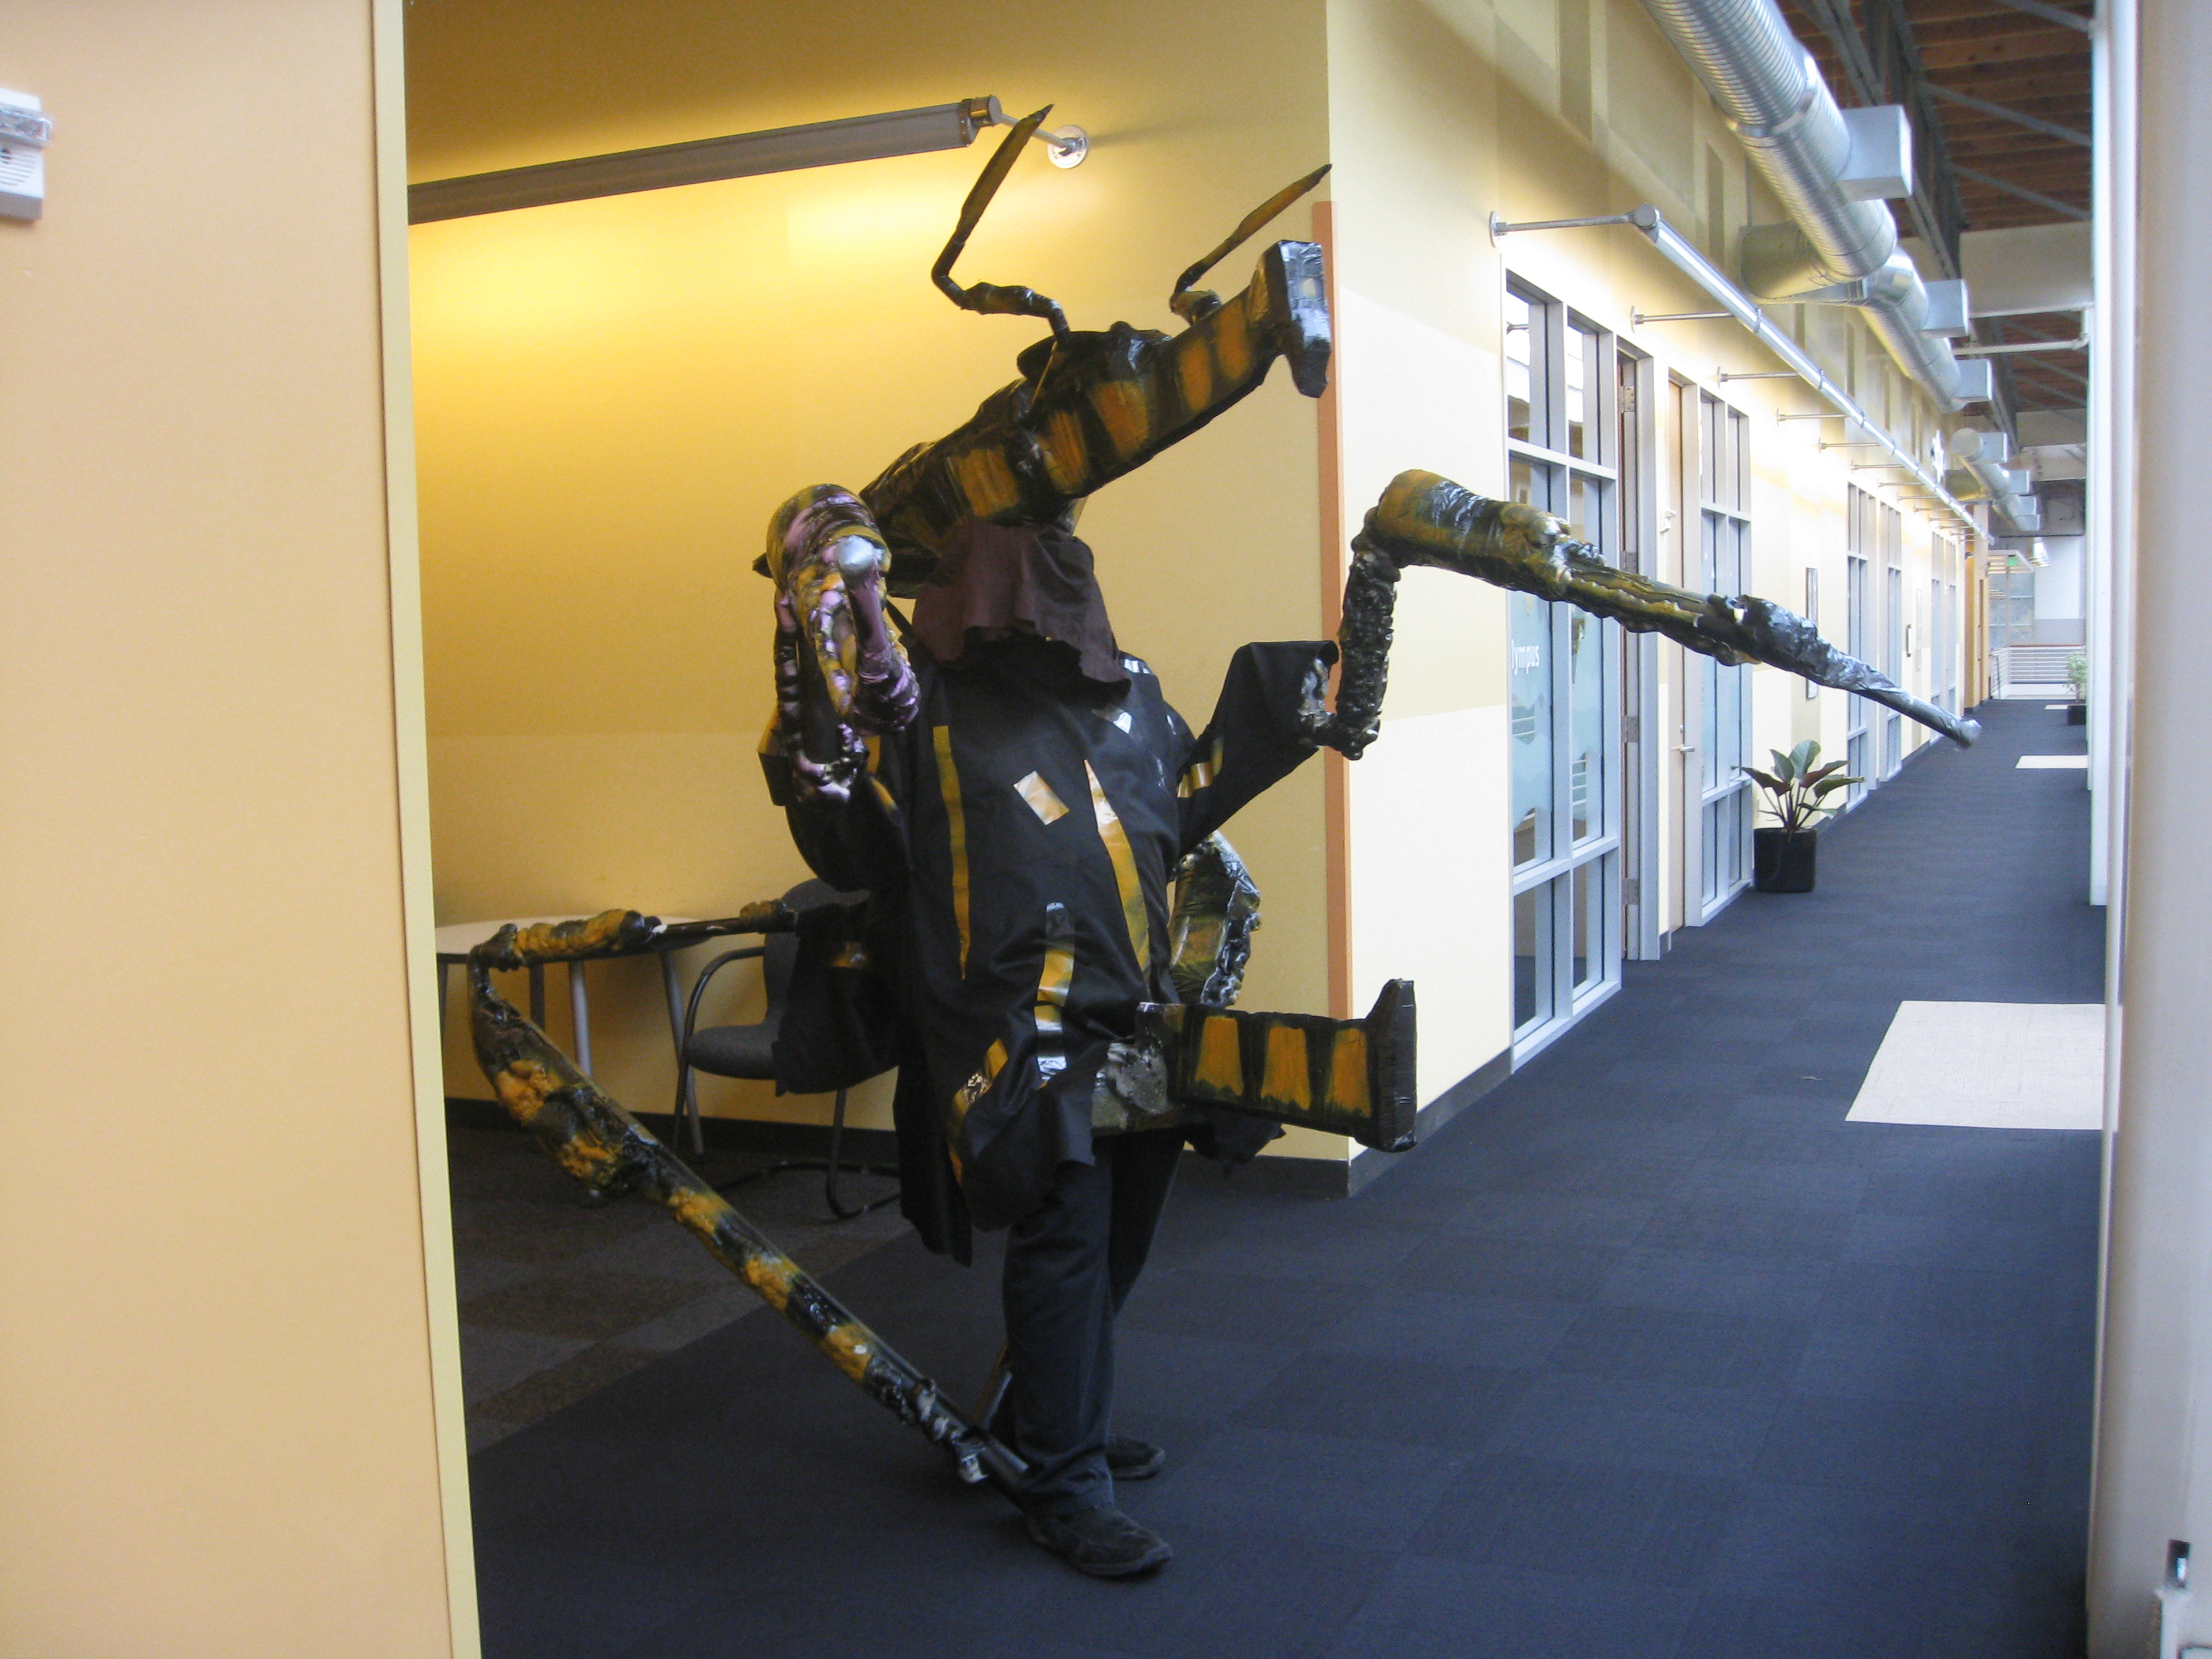
And here are some awkwardly huge pictures of me lurching through the halls.
I'll just spam you with a bunch of construction pics with a couple of
quick explanations:
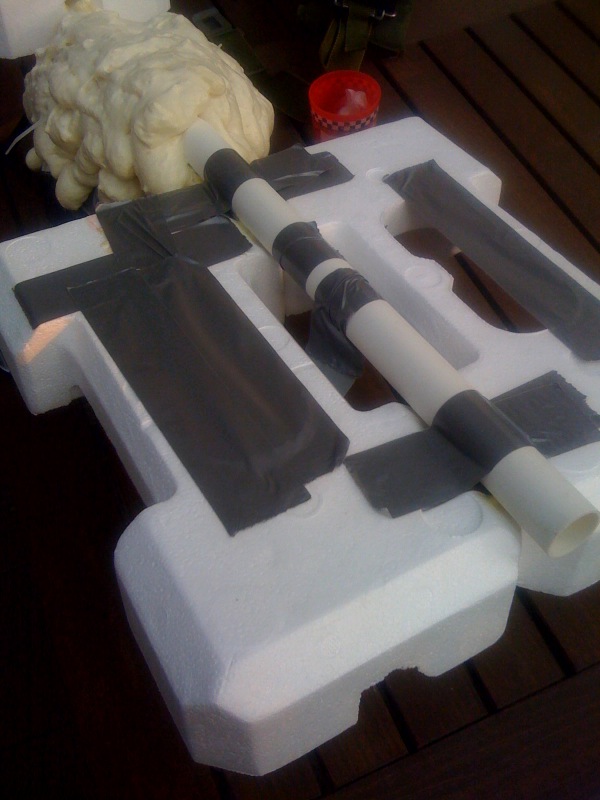
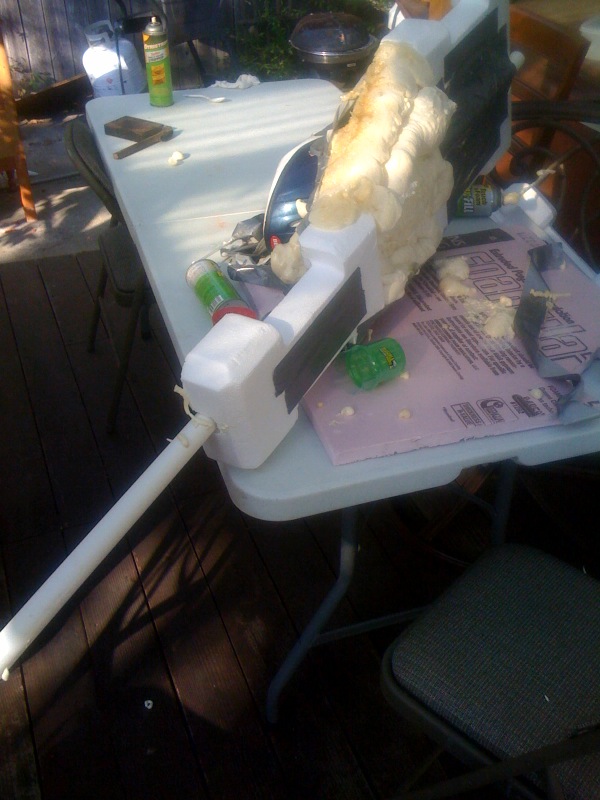
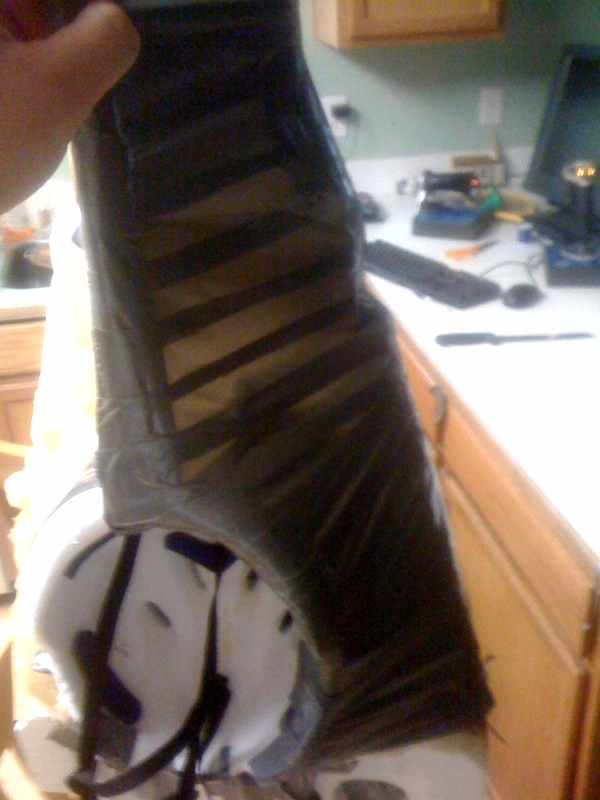
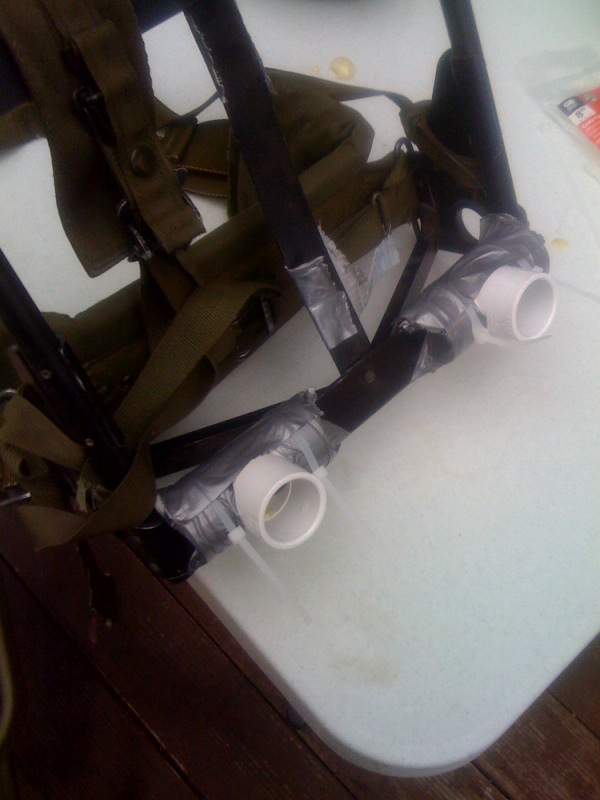
The backpack with the initial leg docking infrastructure setting.
I used zipties, glue, and duct tape liberally.
>
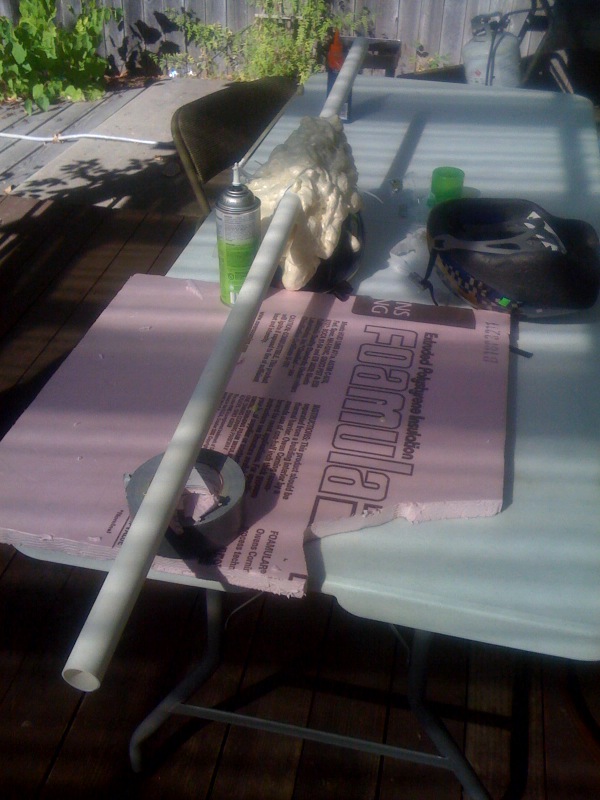
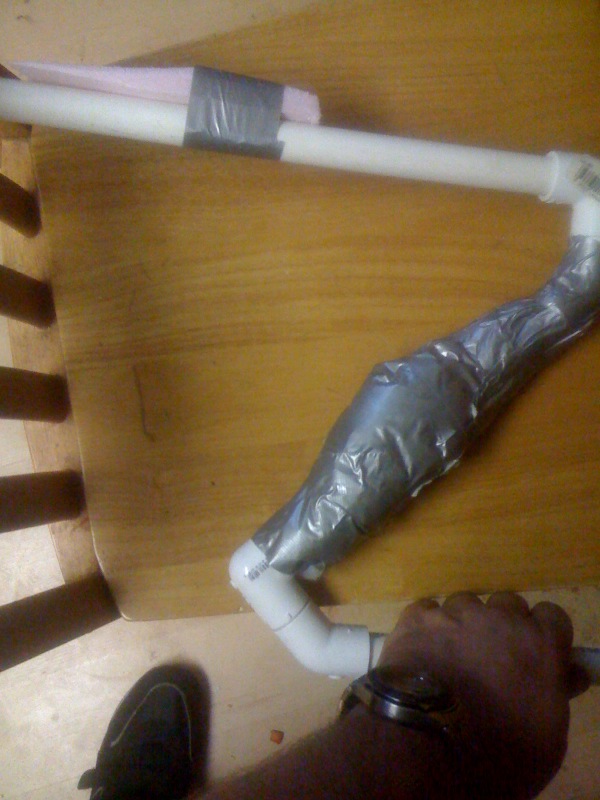
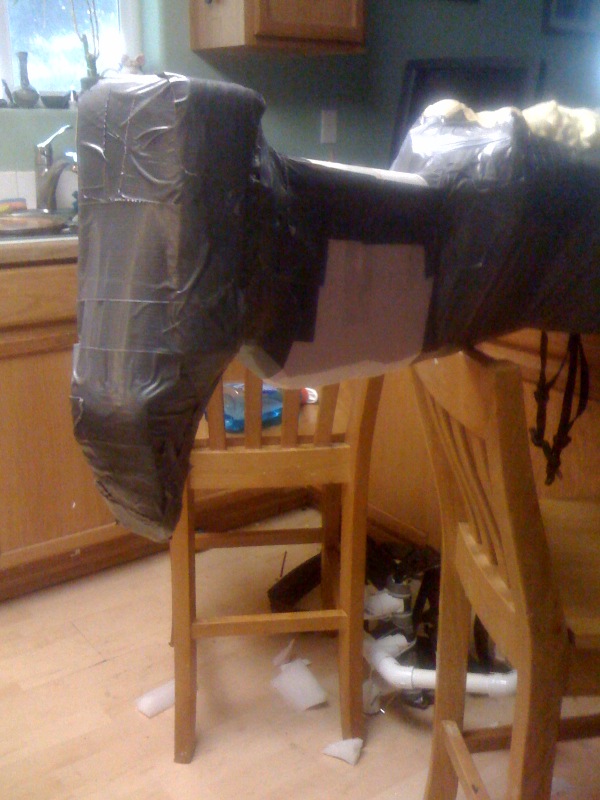
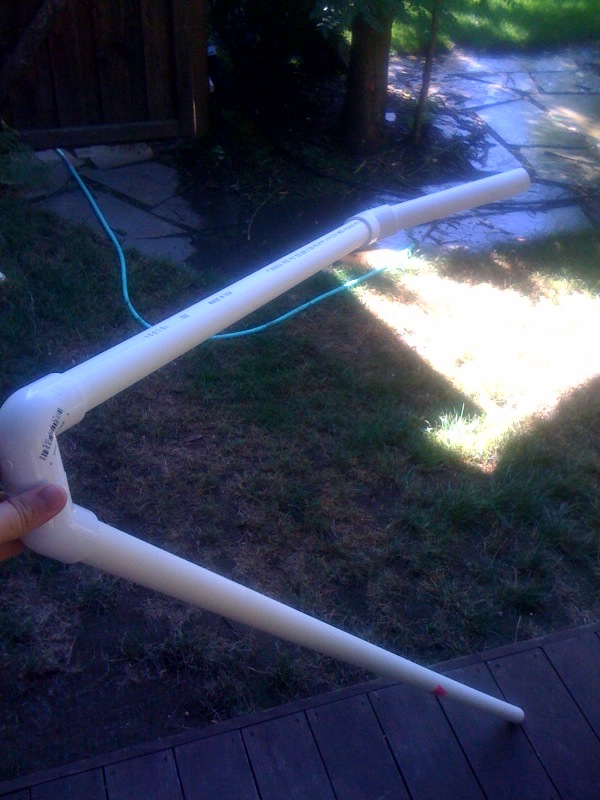
The rear leg, glued together but with no 'meat'.
That big foam lump is covering a bicycle helmet and the PVC rod is 1"
pip running down the center to be the 'spine' of the head.
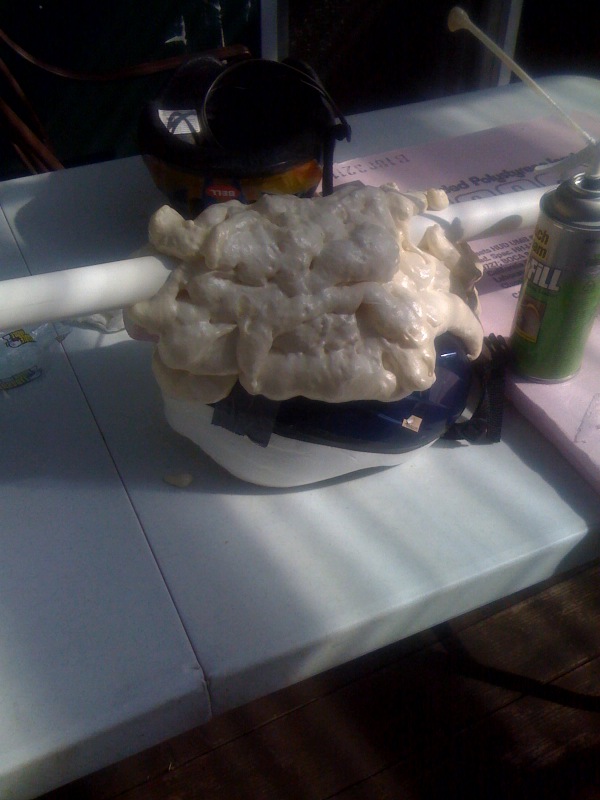
A close-up view of the helmet foamed in. Spray foam is strong stuff.
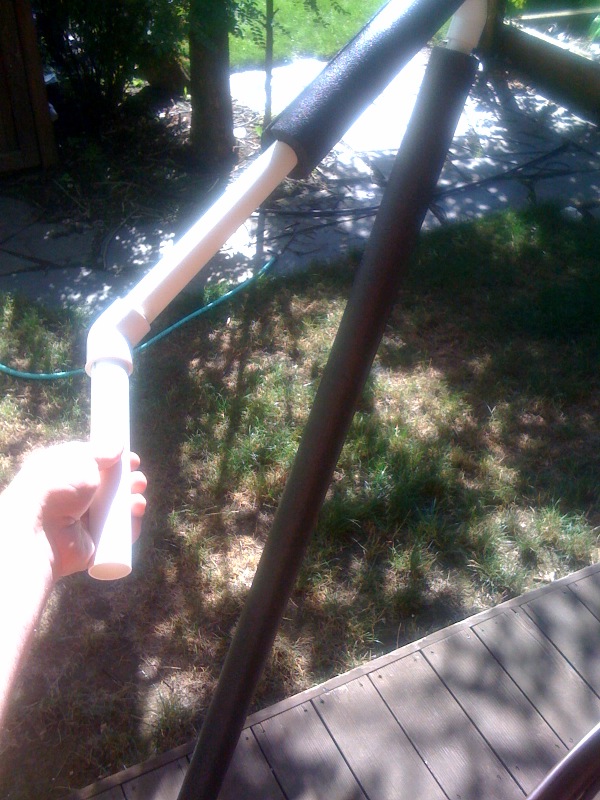
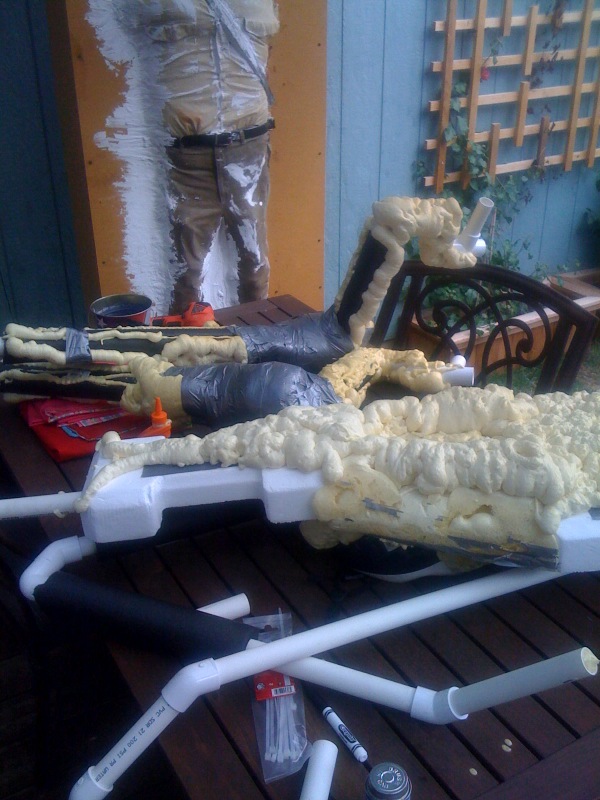
Here I've started putting insulation foam for pipes over the legs,
which are made of... well, pipes. Probably why this went so easily.
This comprises the first layer of 'meat'.
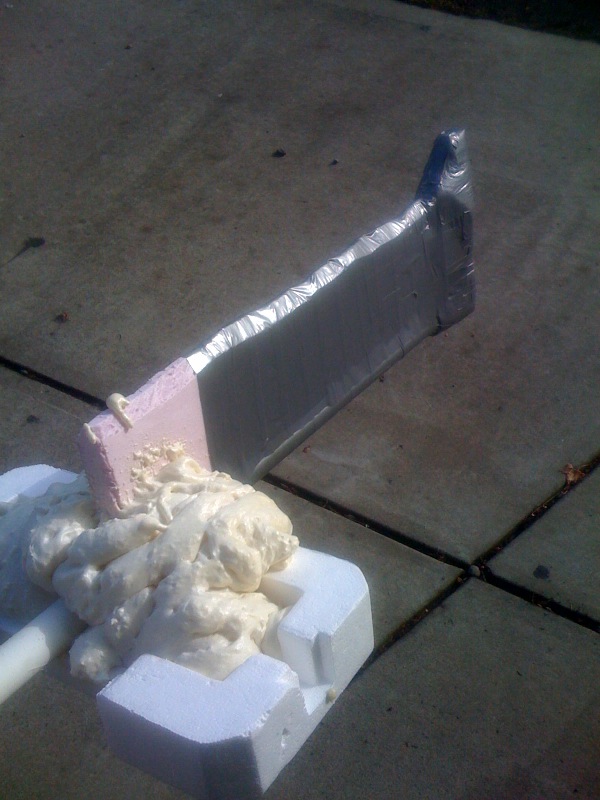
The read 'crest' of the head, coming to life. I recycled styrofoam from
computer packaging, something my company has no shortage of.
I've sprayed some more foam in between the crest and the helmet for
strength and to sculpt.
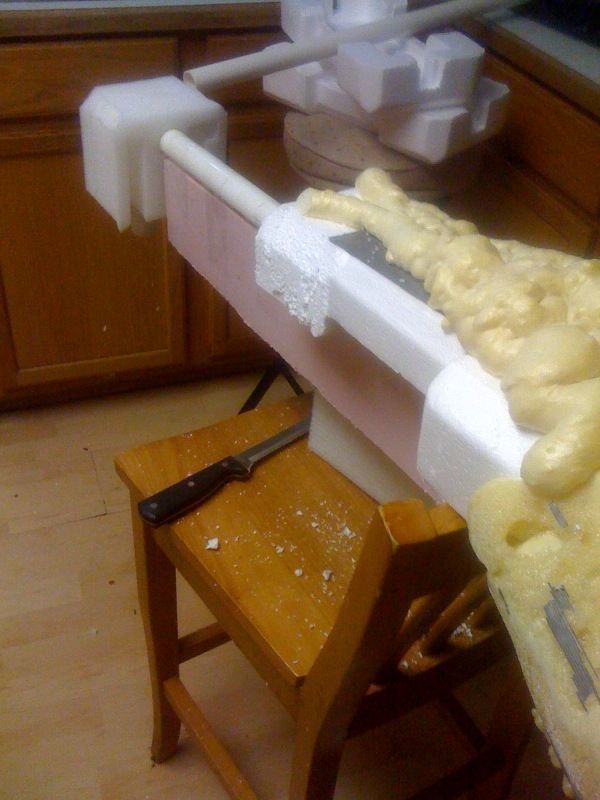
The top of the head starts to shape. When working with spray foam, you
must let it dry before getting too deep, or it won't have enough air to
properly set. Trust me.
I've started trimming some pointy bits off the foam. Yay messes!
Another view of the head coming together. I spent more time on the head
than anywhere else.
I used duct-tape as a 'skin. You can see how I overlap it a little.
This was the scariest part of the operation, I didn't know if it would
stand up well or look ok. Both turned out pretty ok.
These are the little clawtenna that come out of the head near the mouth.
A top view of the head. There are some little 'wings' near the front,
this was them being coated with tape for texture and so I could paint
them. Pink foam doesn't react super awesome to solvents in spray paint.
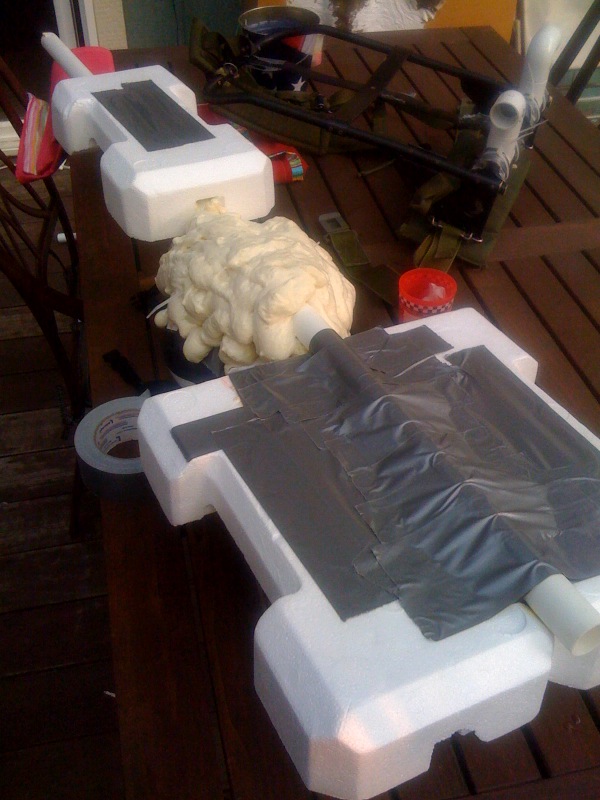
The lower jaw starts to come together. Wrapped in duct-tape, it can be
painted.
Top jaw, seen from the front.
I've painted the head and am letting it dry and stink up the house with
fumes. I think we all lost a few IQ points during this exercise.
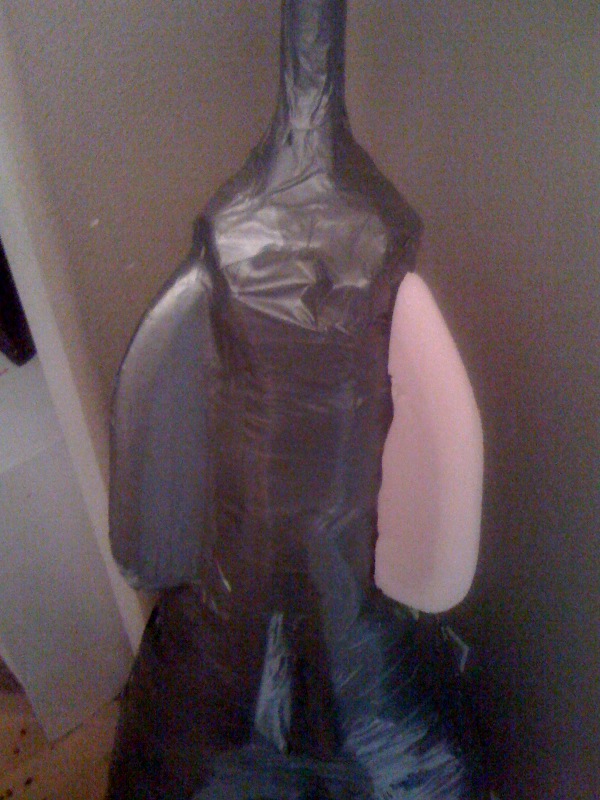
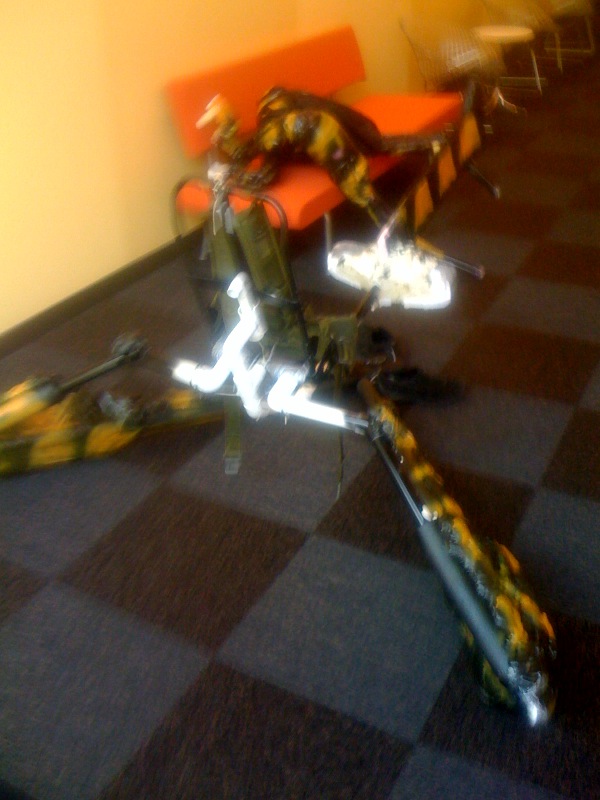
Looking like a combination Howitzer/Genitals, the backpack with legs
attached (they use pins, I don't have a good picture yet) is ready to
mount.
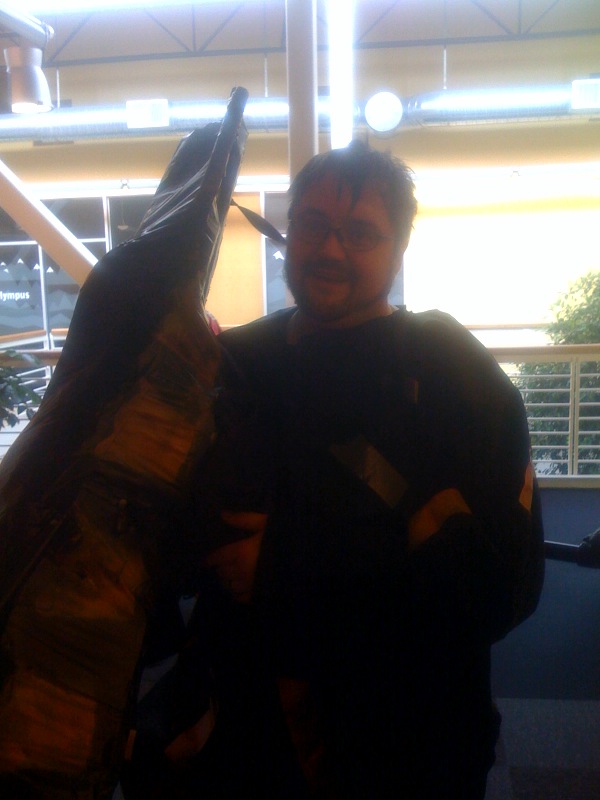
Here I am after an exhausting run. There are some pictures in the
section following of how it looked when almost done. I've since
modified the lower jaw so it's higher, hopefully it will look better.
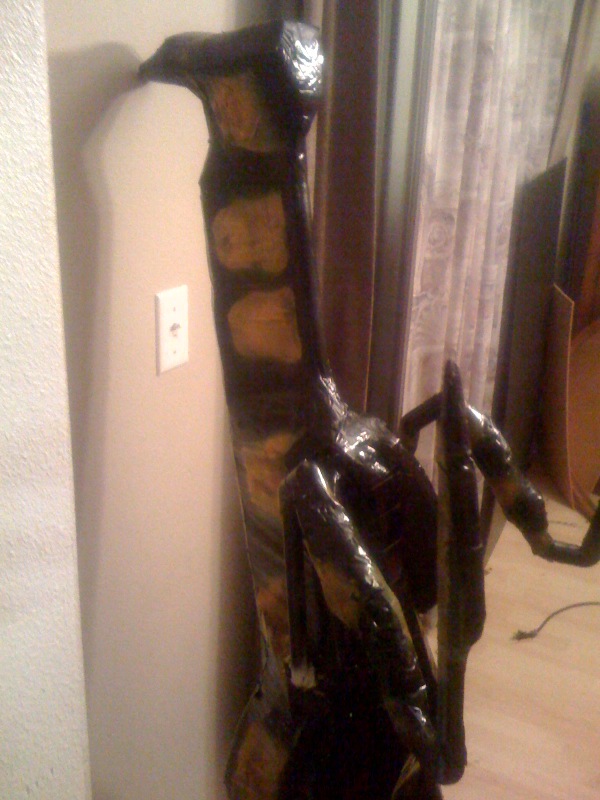
Not sure how this ended up here at the end, but, ah, there's another
pic of the head I suppose.
Come back
in a day or so, I'll have more content. To apologize for your wasted
time, here's a picture of a cat doing laundry:


 >
>